
A couple years ago I decided to put copies of the recipes I usually make into a binder for both of my kids. Before you start thinking sweet thoughts about my sentimental sharing of the tastes of home cooking, you should know that my main goal was to cut down on the number of last minute requests I got to "please email XXX recipe right now". And while I worked on this idea (mostly mentally), eventually my son came home from college, became engaged to a wonderful girl, and didn't seem all that interested in cooking anymore.
Later when thinking about a good shower gift for my future daughter-in-law, I thought of the recipe binder again. Mainly to help her out...and not with cooking--she's a good cook already. As I was growing up, my father would always sing the praises of the fabulously wonderful pies his mother made, despite being busy with her eight children. In response, my mother would try and try to make pies that would equal my grandmother's, but they never seemed to measure up. (I didn't mind eating my mom's pies--they tasted just fine to me.) I am guessing my dad remembers the pies as so delicious because with eight kids, pie was a real treat--not because the recipe was fantastic, but who knows. My mom is still trying to make him the perfect pie.
Anyway, I decided I would complete my cookbook binder NOT so my DIL can make my "fabulous" recipes, but rather so that if her new husband raves about something his mother makes, DIL can look up my recipe, see that it isn't anything special, and make something BETTER, or can easily make the exact thing. The gift is not so much the cookbook, but the demystifying of the MIL cooking--because believe me, my cooking isn't anything special, and one generation of pie making struggles is enough.
 I wanted to make the binder in their wedding colors which were blues and turquoises--here's her bouquet.

I put together my most frequent favorite recipes, added family photos, and pieced a cover for it in my interpretation of their wedding colors. Here are some somewhat terrible photos of it.


I also fixed a binder of the same recipes for my daughter, and gave it to her for Christmas. But I couldn't decide which colors to use for her cover (and to be honest, ran out of time), so this is what she got for Christmas--Christmas 2009.
After Christmas, my daughter suggested I use one of the blocks I had originally made for a quilt for her (another UFO!) as a basis for her cover. So I picked out some coordinating fabrics and began cutting and stitching. Then somewhere along the way I got interrupted...I'm not sure now why (probably another quilt idea), so I binned it all up.
And that is how Alex's Cookbook Cover came to be the Notorious UFO #10.
And that is how Alex's Cookbook Cover came to be the Notorious UFO #10.

UFO #10 was not completed without a fight--it struggled to stay a UFO right up to the thready end. It was one of those project on which things just went wrong. First, I could not remember what the original plan was--the pieces I'd already cut just didn't fit together. I also couldn't quite remember how I'd made the first binder cover.

Eventually it was all stitched together. I even had fun trying the decorative stitches on my borrowed sewing machine to quilt the layers together, and got a bit carried away with them. Here's a close up of them.
Finally, I tossed the finished cover in the washer--on COLD. (Since I always prewash all my fabrics, I didn't think anything of it.) This is what it looked like going into the washer.


You can guess what happened. Black, or maybe the dark turquoise, bled onto the yellow...it doesn't show up well here, but this is the area.
So...what to do? Clearly I couldn't unpick it all. I decided to applique some narrow bias strips of pink on top of the bad area, which wasn't easy with the stiffness of the quilted cover, but it worked. Then, stupidly, I decided the bias pieces needed some embellishment.

After stitching 3 times and unstitching 3 times, I finally got something semi-acceptable stitched on the front and not through the back pocket thingy. Duh!
So now the area looks like this. I know the stitching isn't great--the machine didn't seem to want to evenly stitch across the quilted area, and this was my first time with the decorative stitches. I would have picked it out again, but I was afraid the fabric would soon fall apart from all the wear.

Then I noticed there was actually a bit of a hole in the binder pocket thingy where I had apparently cut a loose thread a bit too closely.
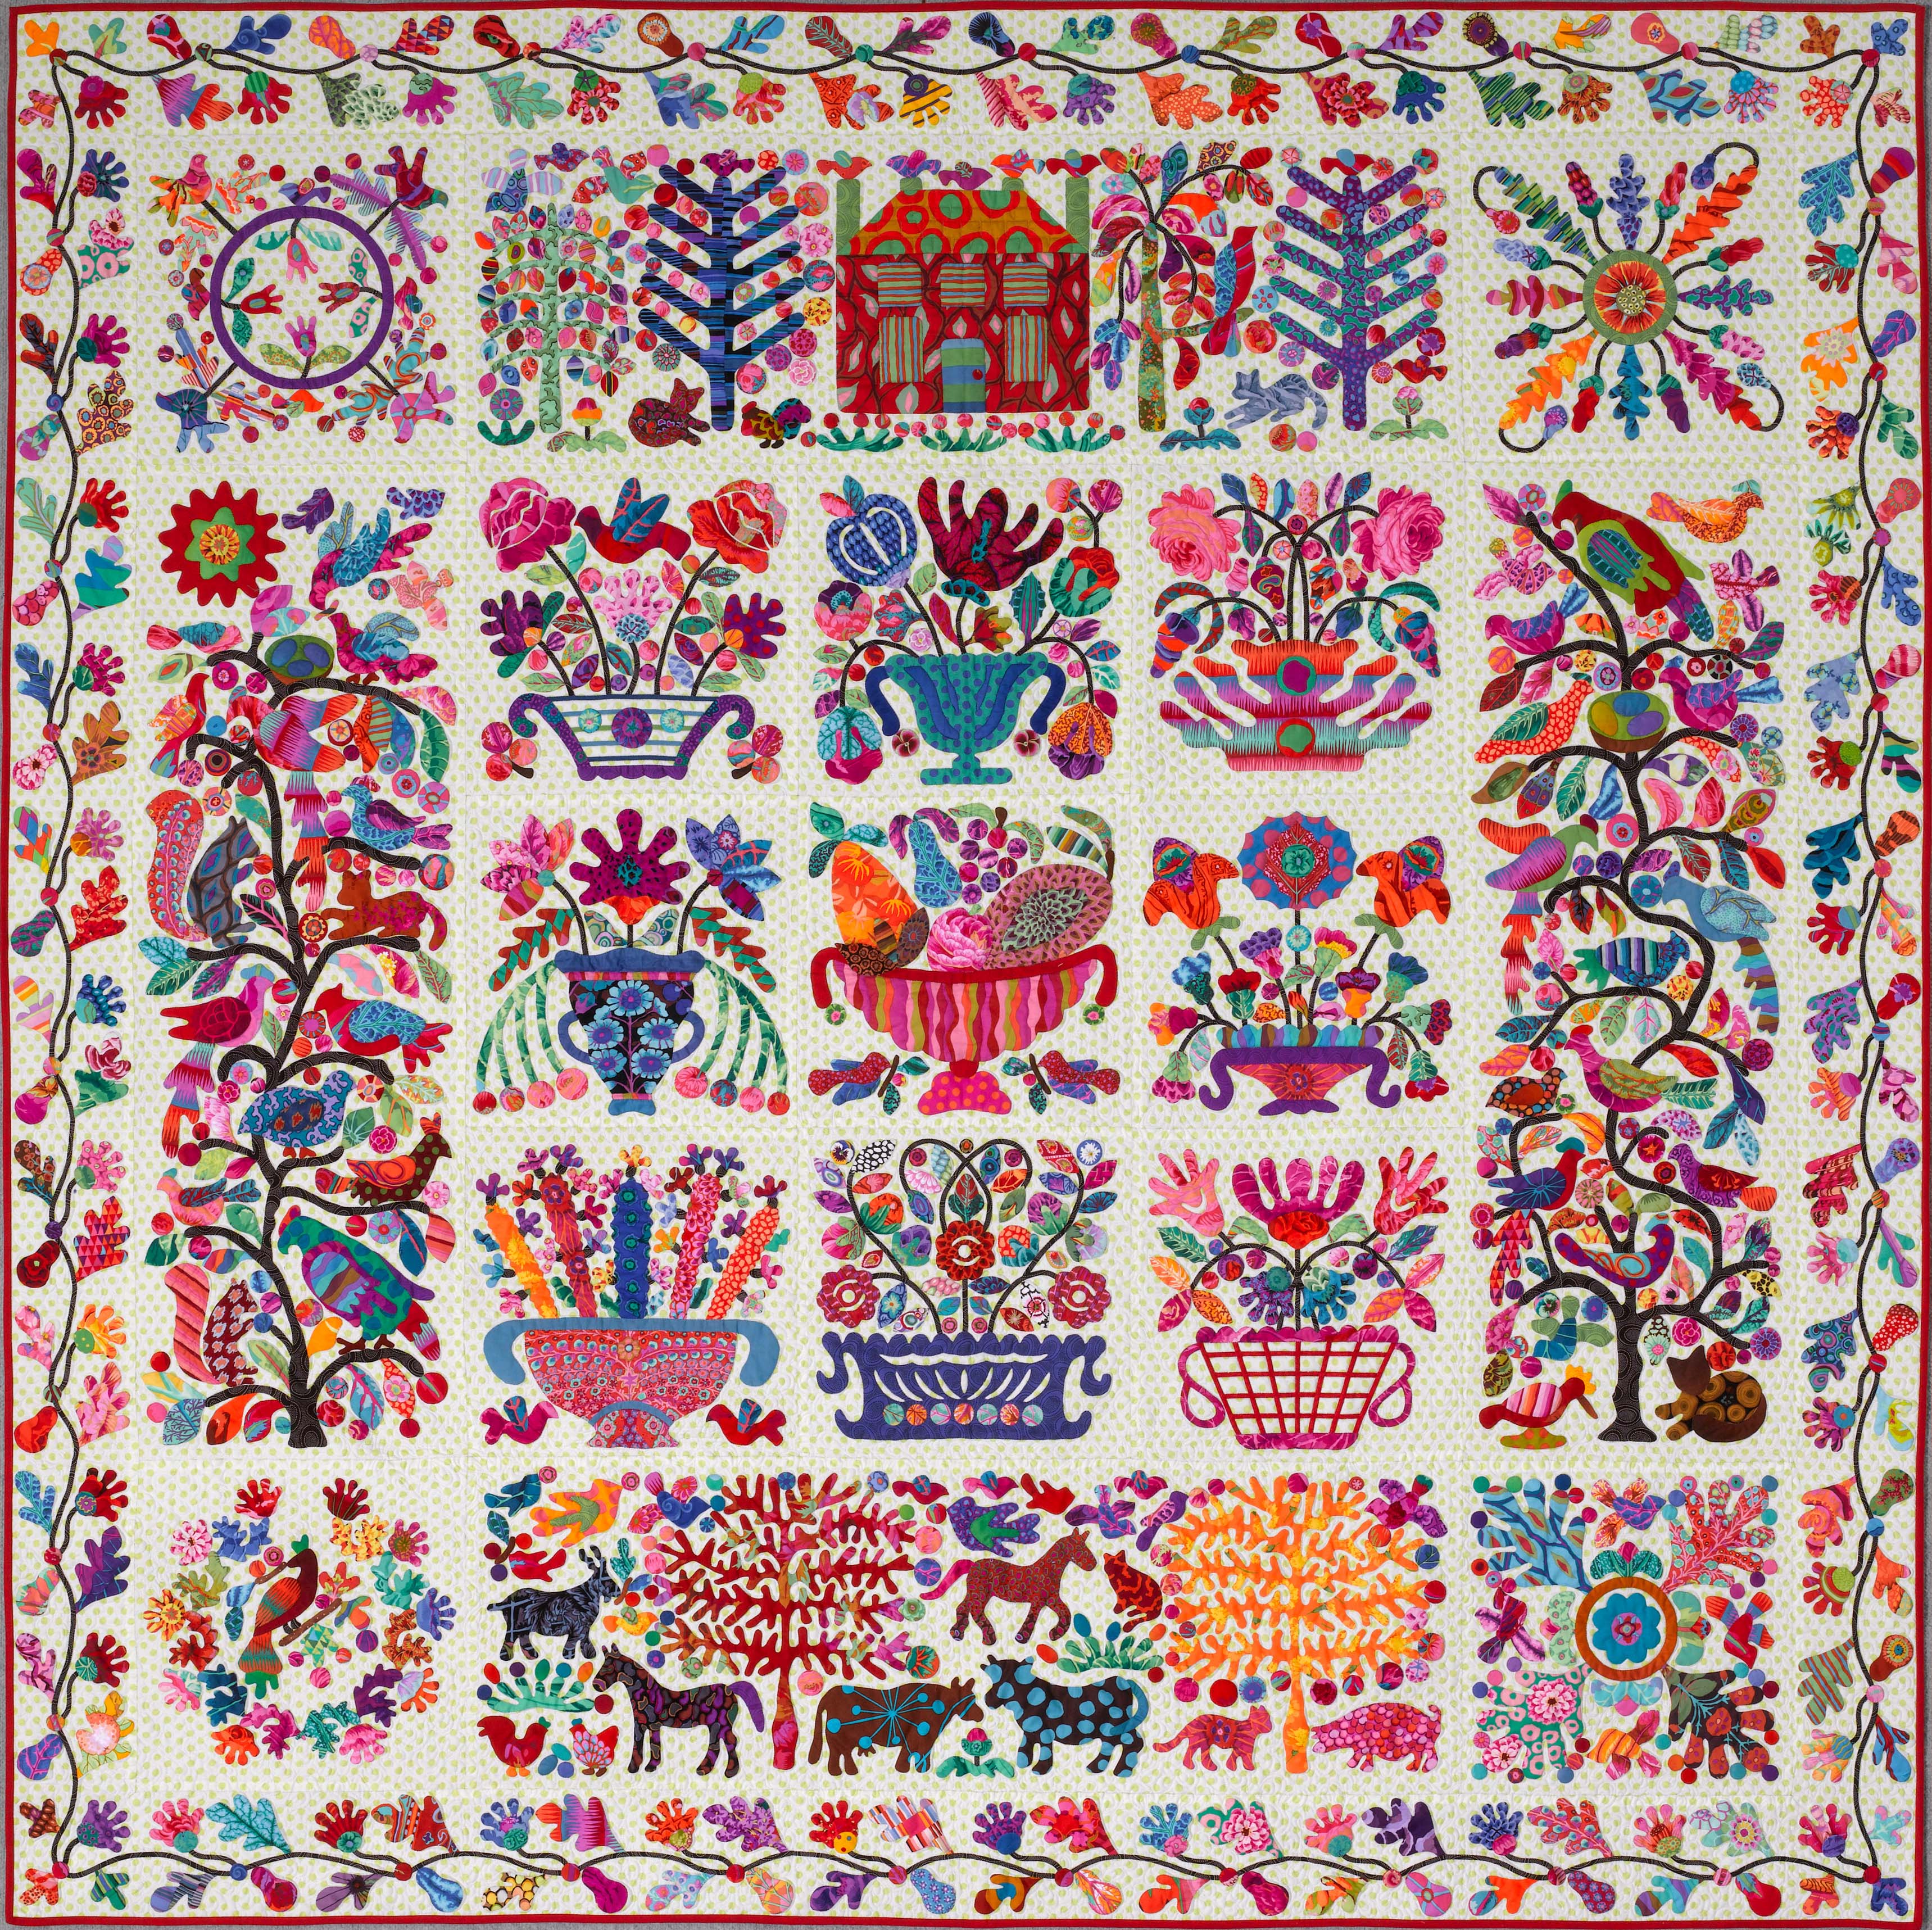
At this point, the whole project feels surreal, but I take it in stride. Copying something I learned on the Glorious Applique blog, I pull out one of the many circles I've premade for my Roseville Album quilt, and quickly applique a circle over the hole! (See the red spotted circle on the lower part)
At this point, the whole project feels surreal, but I take it in stride. Copying something I learned on the Glorious Applique blog, I pull out one of the many circles I've premade for my Roseville Album quilt, and quickly applique a circle over the hole! (See the red spotted circle on the lower part)
Finally done with the stitching, I excitedly put the cover on the binder. What had been a desirable snug fit before it was washed, was now a very tight fit. I'm just very glad the binder is more flexible than I am, because after an extreme backbend by the binder, the cover eventually went on!
And now UFO #10 is now FINISHED.......
 |
| Front |
although complete with a few unique and unplanned characteristics...
 |
| Back |
And now it's on to UFO #1 for March--a Roseville Album block!