Showing posts with label Bordered Diamonds. Show all posts

July 26, 2013

Four months and ten things.....

It's been awhile--okay months--since I posted.  And no, I did not sew myself into the new machine--at least not yet.  It's just the longer I go without posting, the more difficult I find it to post again....as in where do I start.....what to say and so little seems of any real importance, but here goes my best shot.  Since my last post....

1.  We helped my daughter move to a new apartment.  Did you know that 2 flights of stairs are farther up than they were 20 years ago?  Good thing she is young.  I've already told her to seek other help if she decides to move again. Boot camp would be easier.  :)

2.  I finally finished this quilt which I gave to my mom for Mother's Day.  (Stripping Vine from the book, Material Obsession


Yvette quilted it wonderfully--hope you can see the detail. 

She went around each of the white dogwoods, invented a special design for the orange triangles that mimics the fabric pattern, and stitched each of the star centers differently in a way that coordinated with the fabrics.

A really lovely job!


This is the back. I pieced the back in stripes, hoping to give it a different, semi-Bohemian look.  I made the stripes before I decided to give it to my mom.  Definitely too modern for her, but orange and black are the local college's colors and she and my dad are very loyal boosters/fans, plus Mom's favorite color is teal.

My mom's comment on the quilt: "You should have just made the whole thing out of the border fabric--it is beautiful".  Oh well.  She isn't a quilter.

3. I finished this Bordered Diamond quilt for my sister and her husband.  They actually liked it and it looks nice in their bedroom. 


Again the quilting is by Yvette and wonderful.  She used a variegated thread and quilted each diamond differently.

The outer border fabric is the same one I used on another Bordered Diamond quilt I made for my aunt.  Even though the narrow border, binding and backing are all different, the quilts look very much alike. 
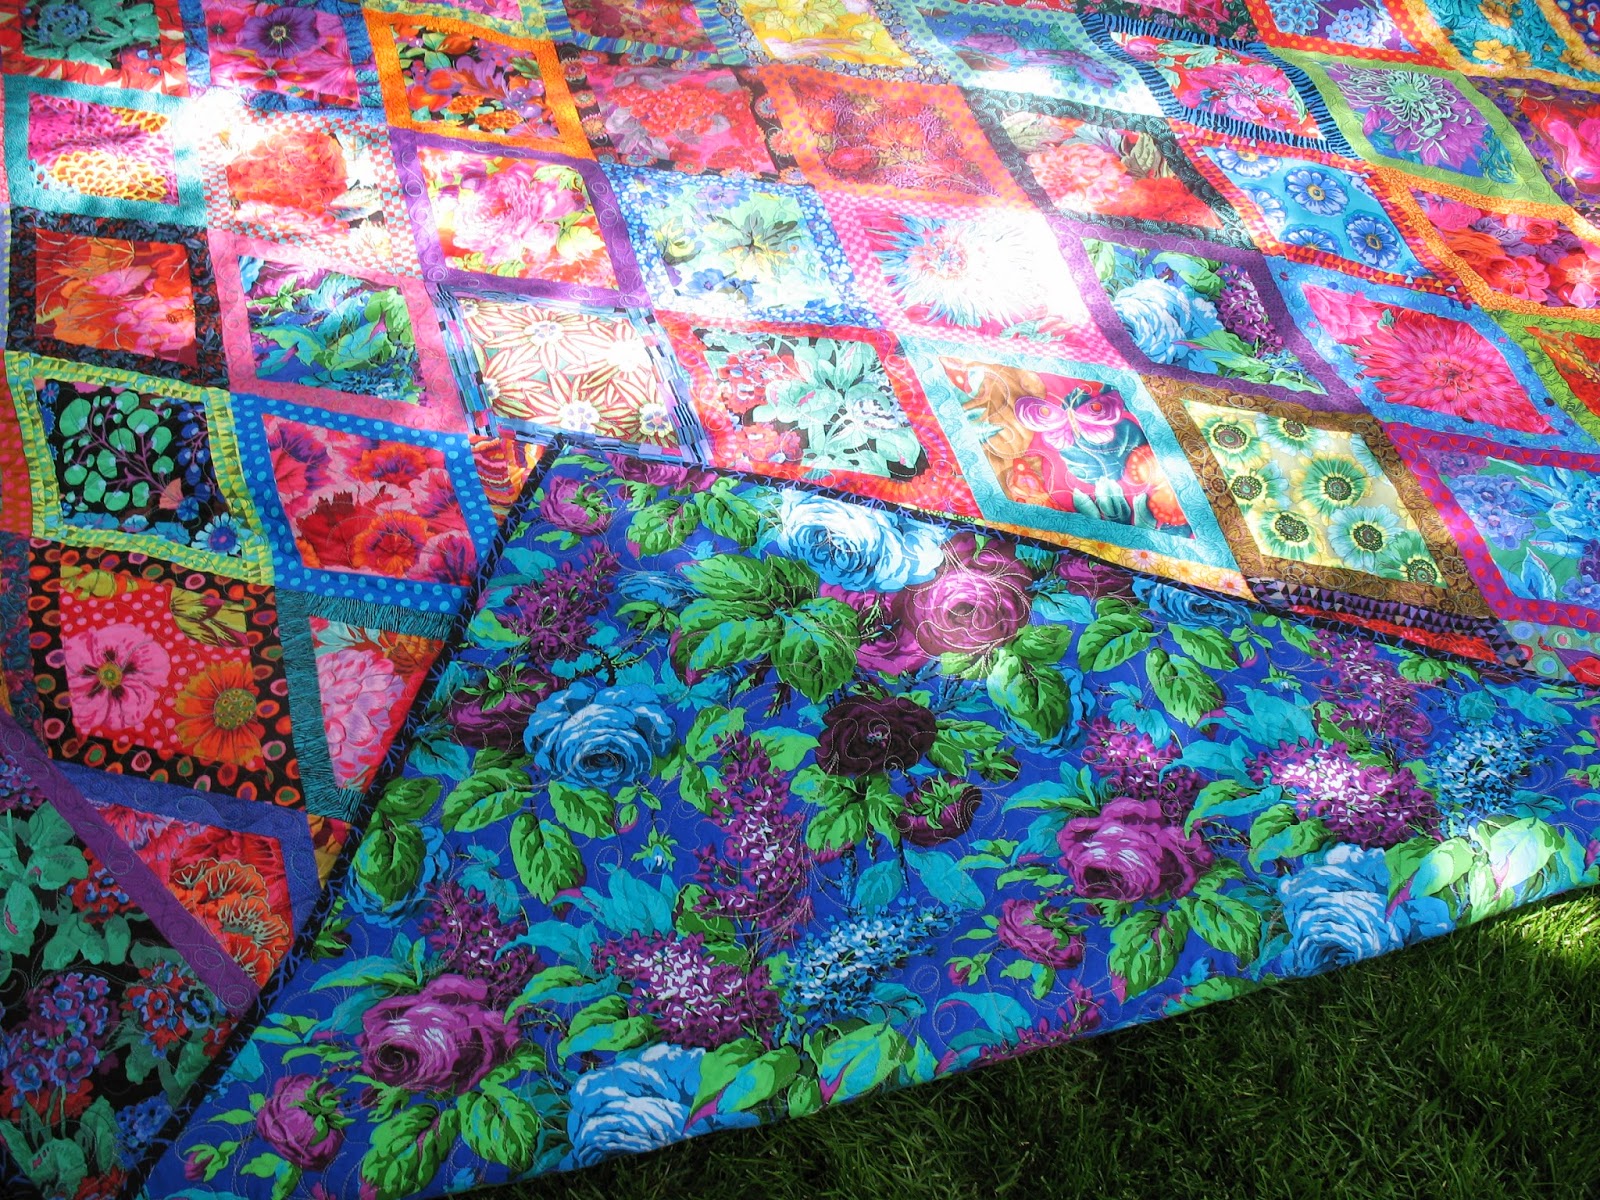


For the backing, I used an out of print fabric by Philip Jacobs.  Not sure of its name--maybe Lilac Rose?


4.  I repaired the Teal Quilt that I had given to my son and his wife for their anniversary last year.  Their dog had chewed on it along the border and had made a couple of holes farther in--my fingers are in one here.  I was pretty disheartened when they brought it back for repairs, and stuck it in a bin for several months while I thought about how to fix it.
  
 
Luckily, I was able to find each of the damaged fabrics on the front and back, and able to match up the pattern (I had a triangle left from the original cutting--cutting too much does have its benefits, as does having an outrageous stash).  Here are some finished photos with a couple of the patches circled.  Being able to match the fabric perfectly really helped the patches disappear.  The repairs really aren't visible unless you look closely, and if you see like me without glasses, you almost have to feel to find them.  And, I gave them the repaired quilt back for this year's anniversary. :)
 
back
front
 5.  I completed one King George III block:

 
6.  I made a table runner of some leftover blocks for my daughter's birthday.
7.  I made potholders for my sister and daughter, as a project to figure out machine quilting on the new machine (and I know I need much, much more practice and shouldn't have used such a contrasting thread color, but there is a certain freedom in sewing for people who don't sew and don't know how bad something is.) :)  

Front
Back
Unfortunately, I was trying to be efficient as I made these, so I cut them out in pairs, stacked them, and began to sew.  I finished quilting the first one, and looked around for the second.  It was nowhere to be found...I looked everywhere--twice--was very puzzled until I realized I had sewn the two potholders together, and left out the insulated batting.  Now my sister has one very thick potholder.
  
Whoops--two sewn together!
Front


9.  I made a little quilt/table topper for my daughter as a piece to practice different machine stitching styles on.  Most were very roughly done, but hey, practice is practice, and I worked on it late at night to finish it. In other words, don't be judgmental, as I know it is flawed (but it IS finished) :)

front
back


10.  And, finally, this is non-quilting and sad news.  I spent a few weeks nursing our dog, Tessa.  Sadly we lost her last month.  Rips my heart out--she was with us almost 14, or is it 15 years?  A long time, but way too short.

Tessa and her duck
Although I've never been a dog person, Tessa seemed to know that right from the start and was on her best behavior, always trying to please me.  I will always remember the time I did yoga, and she saw me laying on the floor for the first time.  Knowing it wasn't right for me to be laying flat on the floor, she ran over and laid next to my head trying to revive me.  It was quite funny and touching that she cared, and she didn't give up on trying to get me up, even as I moved through the yoga.  Later she (and her duck) did their version of yoga on my mat (below).


Tessa was a great fashion advisor, and had a wonderful sense of style:


She had to wear shoes on walks due to a bad foot.  The day she got to go into the store to pick the shoes out, she was very proud,  but we were both disappointed in the color selection in her size. (She wanted red or purple)  She tried to be a good sport about wearing them, even though she hated that they made her stumble as she aged and couldn't lift her feet as well.


Tessa lived her life fully and with exuberance until the end, despite many ailments.  This photo was taken on her last trip to visit my parents, just days before she became ill.
 
Tessa, May 2013
 She was such a special sweetie.  I still look for her around the house, and I miss her everyday.  I hope she was as happy with us as we were with her.  I can't imagine a better dog.  Love you Tessa!
  

March 06, 2013

Good News/Bad News


It's been a busy time, and I've only a few minutes for an update, so here goes........

Good News:  The borders are on and this quilt's off to be quilted. 

Bad News: The two quilts (Bordered Diamonds and French General) are back and now need binding!

And add them to the the other one waiting, and it means a month of sewing on bindings ahead!

Bindings = ICK ICK ICK
  
Good News:  The hexies are sewn together. 

Bad News: I am super sick of pink, and there's still a BIG stack of leftover hexies still to use.

I've put the spare hexies and the top away for a "rest" period before any sewing more pink. I'm still trying to decide about the border treatment, and that will take time--maybe years.
 

Good News:  Found these cute little bins at Hobby Lobby.  They aren't durable (made of paper), but at only $1.99 each, they've been a good aid in keeping the cutting table organized.  I use them to coral and sort the scraps.  And when they aren't in use, they stack nicely.     

Bad News: They are full of more pink scraps to use up!
BIG, BIG GOOD NEWS: I've had the same sewing machine for FORTY years. When it started having problems, a very nice friend loaned me her older (1130) Bernina, which was a definite help (thanks Patty!) But now I have a new one of these (woohoo!) and a new cabinet will come tomorrow! The spot is all vacuumed and ready!

 
Bad News:  I am such a slow learner--it's a big jump to computerized from my old Viking.  I am more than a little bit intimidated.  Even worse, I have been too busy with family stuff to be able to spend much time getting acquainted--maybe tomorrow........

If you don't see many posts from me for awhile, please ask someone to check to see if I've accidentally sewn myself into something and am stuck under the presser foot. 

Happy Stitching!

February 05, 2013

Bordered Diamonds--Again

So what have I been doing these past three months?  Starting new projects, of course.

Back in October/November, I pulled out some leftover diamonds from the first Bordered Diamond quilt I made (see here), and decided to put together another one as a gift for Christmas (crazy, I know).  I had a bunch of leftover diamonds.  I always cut way too many.  A girl needs options--and I'm a lazy cutter, so a strip is easier than just one fussy cut.

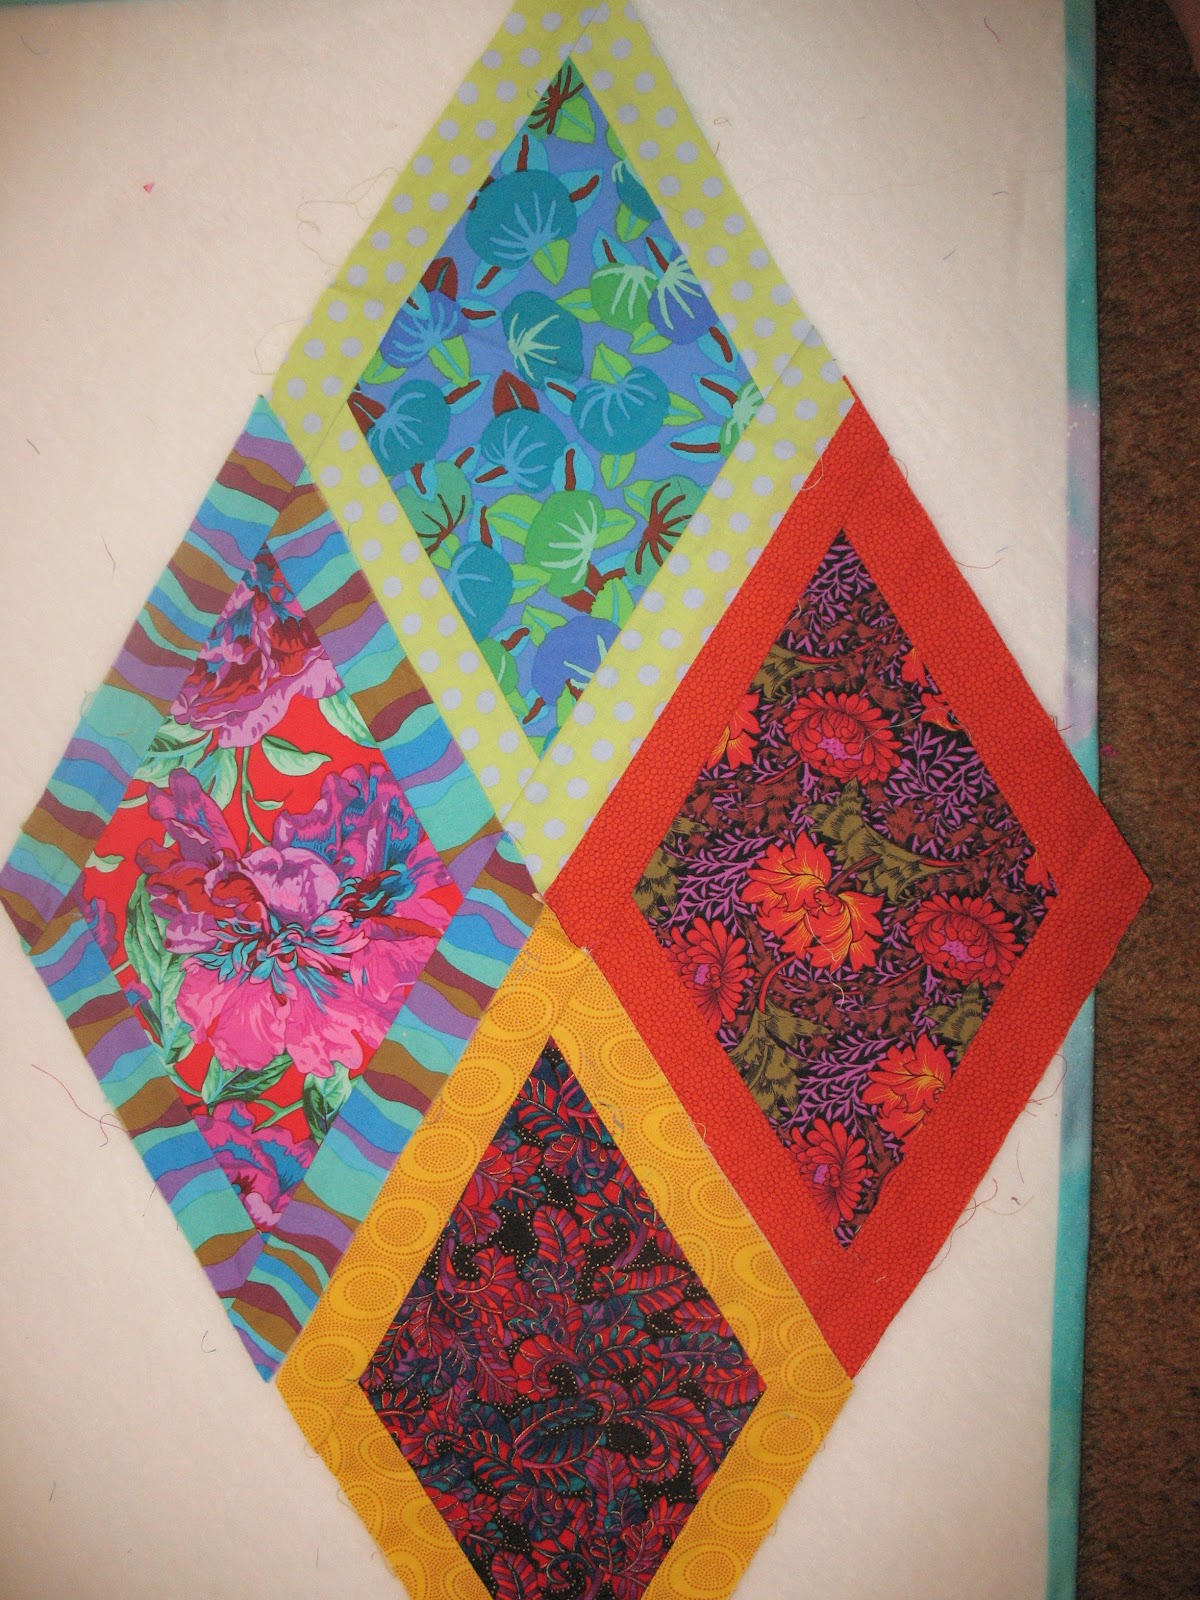
Last time, I followed the Kaffe instructions, sewing the narrow strips onto the diamonds in a clockwise order, but this time I did it differently--sewing two opposite sides on, then trimming and sewing the next two sides on.  The diamonds went together much faster on the assembly since trimming was done half as often.  They didn't look all that different. 

Clockwise                        Opposite Sides

But, when I went to sew them together, I discovered that the new method of construction meant I had twice as many seams to match up when the blocks were sewn together--hopefully you can see the seams.
Clockwise

Opposite Sides
So, having done it both ways, I'd recommend the clockwise way (unless you are a more accurate sewer than I am). :)  And yes, I still have diamonds left!  And even more partial diamonds from the edges of both quilts too.  And some unsewn diamonds.  And a bunch of strips.  But I don't plan to make another one of these--maybe something with triangles instead.

Here are the borders that I decided to use.  The outer border is the same one that I used on the other Bordered Diamond quilt....it just seems to pull the colors together the best of all the fabrics I tried.  I didn't have enough of the inner border to use again (which I am trying out in the photo below), so I switched to the violet in this photo which goes nicely with the backing--it's ok, though not my favorite. 


For the back, I'm using the blue fabric with roses, which is a Phillip Jacobs print, called Lilac Rose, but I think it is out of print.  I've had it for several years--bought on a closeout sale for a ridiculously low price, and it feels good to finally use it! 


The top is finished, the backing pieced (with roses matched!), and it's ready to go to the quilter on Monday! Hooray!   Just a bit late for Christmas--but at least closer to done!

And, last but not least, last Tuesday we had a strangely peaceful snow storm, which managed to carefully stack inches of snow on narrow objects, turning the ordinary into beautiful.

 
My lovely daughter who had come home for a short visit, joined her furry sister to make a set of snow people parents just for us!   (Miss you sweetie!)
 

Happy Stitching!

October 15, 2010

One Down, One to go...

Since it's been at least a zillion years since I last posted, it's about time to let you see what I've been up to.  I finally (!) finished one of the two quilts.  Though I'm in the process of binding the second one, it's time for the first one to leave to meet its new owner, so I had to take photos of it today--despite the horrible light outside on our glum, dreary day.  The finished quilt is quite cheery even under the grey sky.


The binding is Paper Fans in red by Kaffe, and the borders are Primula in black by Philip Jacobs.

Yvette did a lovely job quilting it!  She stitched feathers down the borders, and outlined the individual flowers in many of the diamonds.  When there wasn't a good flower to outline, she stitched a feather in the diamond.  


The backing is Bekah by Kaffe in magenta, which looks lovely enough to be a great quilt even on its own.  Since I cut double the number of diamonds I needed, you'll probably see another one of these sooner or later, possibly in a larger size with a few additional diamonds cut from the many new pieces of fabric I haven't been able to resist lately. 


These are just a couple of them-- aren't they fabulous?

As far as the Roseville goes, I'm still stitching away.  The panel is mostly finished although there are a couple of berries that may end up being swapped, and a little bird that I may change.  I'll post a photo of it when it's done, but first I need to finish that second binding...

Happy stitching!

August 06, 2010

Bordered Diamonds

When I saw the Bordered Diamonds quilt in Kaffe Fassett's book, Simple Shapes Spectacular Quilts, I knew immediately that it would be a perfect quilt for a thank you gift for my aunt.  Never mind that my stash did not contain many large floral prints.  My first thought was that I would just buy a kit, and Glorious Color has fabric kits to make two different versions of the quilt.  This is their version from the book.  And this is their version from the June/July 2010 Quilt Magazine.

I carefully analyzed each kit trying to decide which would be best.  Then I started thinking about how I liked each version--except for this or that fabric, and how I wanted to use some of my own fabrics, and how I am pretty persnickety about fabric choices, and I finally just gave up and started collecting florals...surely that wouldn't add too much to my stash?

Here's a view of the cut diamonds and border strips and of my lovely white board which has been replaced:

And since the directions call for dark diamonds to have light strips, and light diamonds to have dark strips, and the rows to alternate, I photographed them, then changed them to black and white to determine the values, as shown here by the strips (although these are the mediums to darks primarily):


But after trying to lay them out as directed, I decided to do my own thing when the light/dark thing didn't work, and just evenly separated the colors.  And now, a couple of months later, the blocks of the quilt are all sewn together. Hooray!
 

I needed the quilt to be larger than designed, so it's now waiting for the border fabric to be added.  This is what I am planning on using:
And, having easily spent twice as much as I would have on a kit (what's an extra 1/2 yard here or there?), I now have a very large bin of floral fabrics.  My stash, like my waistline, only seems to grow in one direction....